The dg2n platform
One store.
A fuller picture.
The space, the products, the movement, and the next possibility. Four connected views of the decisions that shape your store.
Explore the platform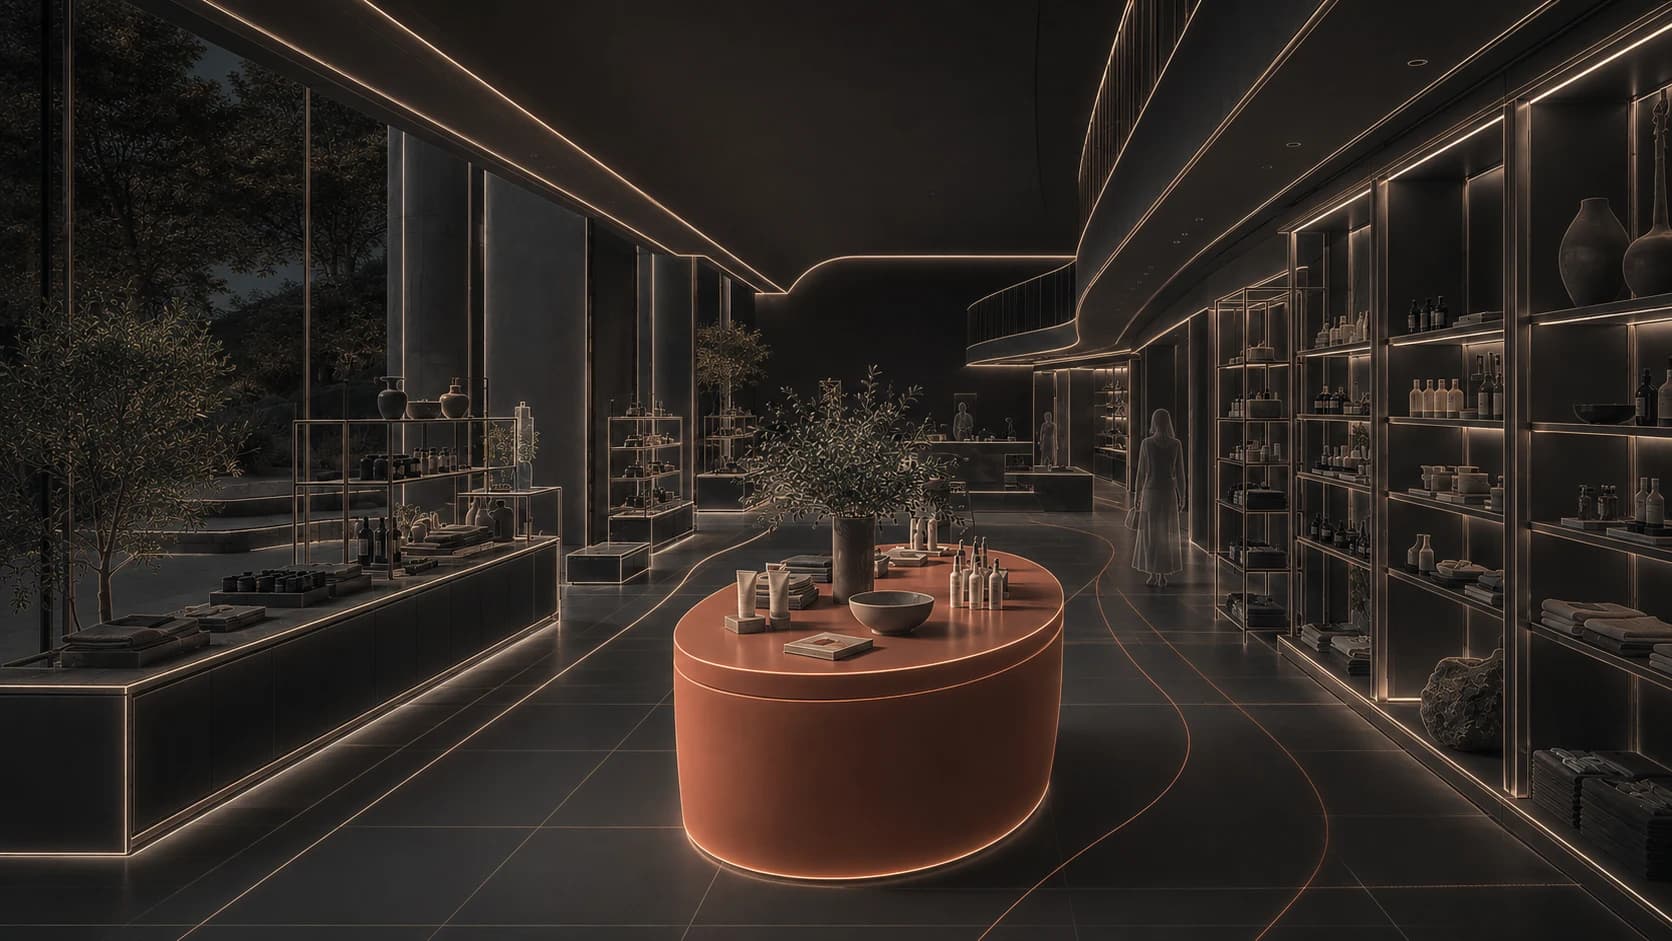
The foundation starts with Storegen
A PDF or CAD file.
A place to begin.
Storegen autonomously designs and redesigns layouts in full 3D, creating BIM-ready infrastructure for digital twins. A PDF or CAD file is all you need to start.
Meet Storegen01 / Physical Twin
Start with the store your customers see.
Build a shared view of your store so layout and merchandising decisions begin with the same floor plan, fixtures, and departments.
A retail team reviews display positions and the path from the entrance to checkout before considering a new promotional layout.
- The inputs
- Store floor plan, fixture dimensions, checkout positions, and reference photos.
- The view
- A spatial store model with identifiable displays, aisles, departments, and checkouts.
The review that mattersCheck the model against the floor. Confirm dimensions and location mapping before adding operational data.
02 / Data Twin
Connect products and sales to the store.
Connect products, stock, and sales data to the store layout. Review merchandising decisions with the context your source data can support.
The same retail team checks the products assigned to a promotional display and reviews available sales and stock data before proposing a change.
- The inputs
- Product master, existing planograms, stock snapshots, and relevant POS exports.
- The view
- Product and inventory information mapped to fixtures or departments where location identifiers are available.
The review that mattersReview product placement alongside sales and stock. Check data freshness and location coverage; a sales export alone does not reveal shopper routes.
03 / Process Twin
Understand movement through the store.
Describe shopper journeys, replenishment routes, and checkout flow. Make the observations and assumptions behind each movement pattern explicit.
The team considers how a relocated display could affect the route to checkout and replenishment access.
- The inputs
- Store walkthrough, observed movement patterns, replenishment routines, and checkout timings where relevant.
- The view
- A view of proposed shopper paths and store workflows in the context of the layout.
The review that mattersReview paths and service assumptions with the store team. Agree which display positions, queue arrangements, or routines to compare.
04 / Simulation Twin
Compare a change before committing.
Compare store layouts, planograms, and checkout arrangements against a defined baseline. Use the comparison to prepare a trial in the store.
The team compares the current promotional display with a proposed position while holding arrival and movement assumptions constant.
- The inputs
- Store model, brand and fixture constraints, baseline observations, and agreed shopper or service assumptions.
- The view
- Comparisons of the selected display, layout, or checkout alternatives under the same assumptions.
The review that mattersReview assumptions and tradeoffs, then choose whether to run an operational pilot. Validate the result against observed performance.
From model to floor
A better-informed decision.
A measurable next step.
Review the model with the people who know the store. Compare alternatives against the same baseline, then validate the selected change in practice.
Simulation depends on source data and assumptions. Document the demand period, layout constraints, task timings, and conditions behind each comparison.
See the validation checklist →Your next store decision
Bring the question.
See the possibilities.
A display move. A new planogram. A different checkout arrangement. Start with the decision your team wants to make.
Explore your store with us